by
Vintage style photography has seen a surge in popularity among hobbyist photographers. And thanks to photography social networking sites like Flickr, sharing of photographs in the vintage style is easier than ever.

Users even share their post production ‘recipes’ and techniques to help you form your own ideas and techniques if you’re interested in producing photographs in the vintage syle. A quick search on Flickr brings up 61,000+ images of and 2,000+ groups dedicated to the vintage style. Here are six tips for capturing a bit of vintage of your own – or as I call it, ‘vintifying’.
1. Levels
The vintage style has everything to do with colour and saturation. Old photos aren’t vivid. There are many ways to tweak levels in post production to achieve a vintage feel.

Contrast
The first of these is the contrast – toning down your contrast to create a “flatter” feel. There are differens ways to change contrast in Photoshop. You can select Layer > New adjustment layer > Levels, or see the below images:


Enhance
Another way to play with your photo is in Enhance > Adjust color > Color variations. You’ll see a host of options for playing with your image. Generally I like to enhance contrast by bumping up the highlights by two clicks and the shadows by one. But here, we’re lowering contrast so just do the opposite!

Another way is Layer > New Adjustment Layer > Brightness/Contrast. This will add a transparent adjustment layer and give you two sliders on the right to adjust until you’re happy. The great thing about using adjustment layers instead of directly changing the image as in the screen shots above, is that you can then mask out parts of the image you don’t want affected or delete the
adjustments alltogether.


Saturation
Bump down your saturation. As we mentioned before, old photos aren’t vivid. Just like in the above tip for using an adjustment layer to change contrast, you can make one to
adjust color hue and saturation.

Black and White
There’s so much more to black and white than just hitting the grayscale button. Basic grayscale or monocrome is a good place to start, but tweak the underlying blues, reds, greens and contrast to make it more believable.
Look at some old photos in real life and online to get a sense for what film black and white photos actually look like before trying to ‘vintify’ your own. There are the usual ways of changing an image to monocrome (e.g. Enhance > Convert to black and white) but they don’t make for a very believable image.
I’m fairly against the run-of-the-mill “one click” grayscale buttons. By all means, click them and then adjust the contrast, use texture layers etc. to make a custom black and white that’s just right for your image.

2. Lightroom Presets
There are a great many photographers who share their presets for free or a nominal price which you can use as a springboard for your own vintage style images.

3. Textures
Another post production method for vintifying your images is using texture layers. Do you have old photos from your grandma’s attic, or a handful that you picked up at a thrift shop? Study the textures. Look at the edges, the water spots, the age spots and dust. Old photos tell a story in so many more ways than just the image itself. Maybe your grandad accidentally put his coffee cup down on the family photo. Pay attention to the damage that time does to old images and experiment with texture layers to achieve warm, rich textures which you can practically feel. This tutorial by Phototuts’ own Andrew Gibson will tell you exactly how to edit using texture layers. I regularly use textures by Florabella Collection and Flypaper Textures. In my experince, Florabella is great for people while the Flypaper Textures are outstanding for landscapes but of course, the sky is the limit when using textures!

4. Content
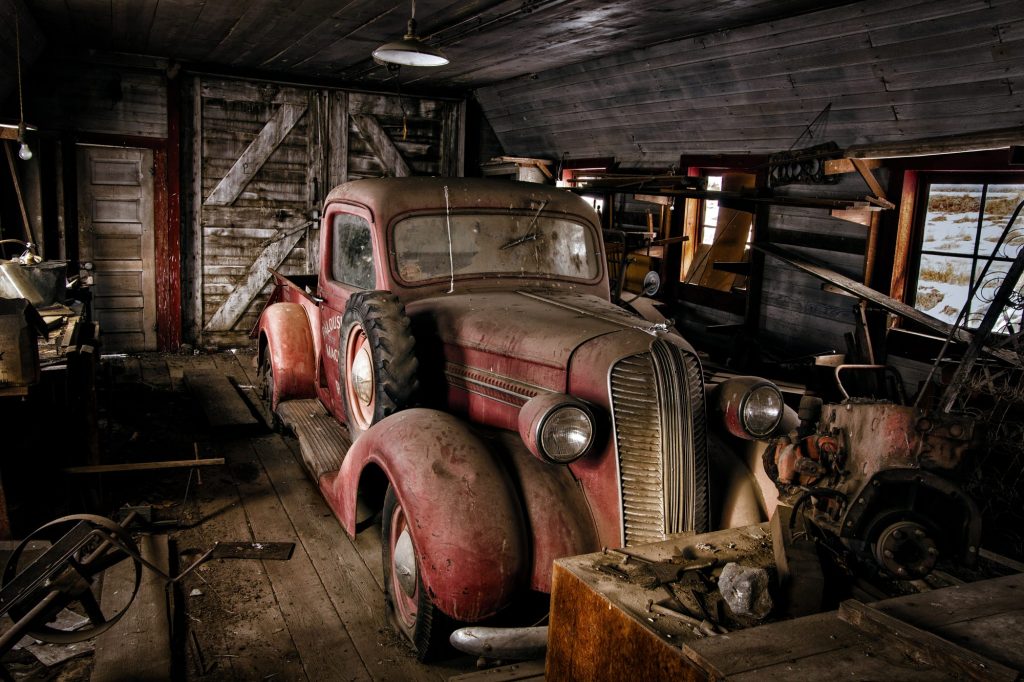
It goes without saying that a photo of the latest Ford car isn’t going to look vintage no matter what you do in post production. It’s clearly from this day and age. Pay attention to the images you are seeking to vintify and be sure that the subject matter is conducive to the vintage style. A couple of great ways to achieve vintage content is to seek out: old cars, vintage clothing for your children, rustic locations, antique furniture or vintage, recognisable and branded paraphernalia like Coke bottles.

5. Scanning
Don’t have images you feel inspired to vintify? Why not scan an actual photo from the past and edit it?

6. New old
A quirky little sidestep from vintage style photography is what I call “new old” vintage. That is, photos which are clearly from this day, utilizing vivid, saturated colours and studio lighting but entirely fabricated to look old with props, makeup and subject matter.
Try it Yourself!
The vintage style is so popular these days that I really try to be careful to separate myself from everyone else and not do it the same way. As with any style or trend in photography, there is always room for individuality. Study the thousands and thousands of examples out there and start playing around to find what really works for you.
See article here